AndrewJH wrote:
Duh, did a bit of searching and found the answer to the first question,
Too late.

Prepared an answer already:
Originally posted here:
http://forum.transdem.de/viewtopic.php?p=7#p7 (also in the manual):
"Data is packed into tiles of 20 x 20 km and structured by O/S grid squares. To find the grid square, an overview map should be loaded in TransDEM and the coordinate system switched to OSGB36. Grid square codes are shown in the TransDEM status bar, if the View | Show grid square option is activated. The numerical digits in the file name indicate the 20 km tile in square coordinates, the first digit for the easting, the second digit for the northing."
Now, what is an "overview map" in this context? The easiest would be using a Map Tile provider. Once the map tile setup has been imported (TransDEM main manual, tutorial 7, on page 130), these online maps can be used right away.
Example:
Find your area with the TransDEM Map Tile client. Zoom level 12 is recommended. Download a map. 1024 or 1536 pixels in size.
Switch coordinate system to OSGB36. Switch on the grid square option.
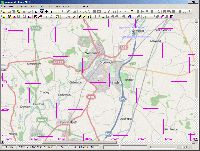
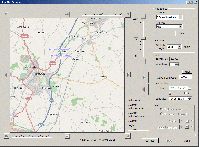
Check the status line. Positioning the cursor on Droitwich (in the example) will give something like this:
SO 89600 63400Grid square SO.
First digit easting: 8
First digit northing: 6
File name SO86.asc
Your directory path will look like this:
\OS Open Data\panorama_gb\DTM\ASCII\data\so\so86.asc
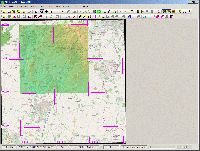
You may need to add more squares.
Open each .asc DEM file individually in TransDEM first and save. Saing will produce .dem format. Then merge the .dem files, using the TransDEM Add DEM function.
AndrewJH wrote:
but in that thread there was still a doubt as to whether the vector files worked. Is that still the case or can we use them?
These work fine now. See here:
How to use OS VectorMap™ District (ESRI® Shape format).