TransDEM supports Open Street Map (OSM)
raster data via its built-in map tile client. But TransDEM cannot directly access the underlying
vector data. There are ways around this. Some websites offer vector data in ESRI Shape format (.shp), based on OSM, which TransDEM can read.
This tutorial shows a method to create your own OSM vector data for TransDEM, employing a piece of extra software, JOSM, the Java OSM Editor, and making use of the GPX file format for data exchange between JOSM and TransDEM.
To follow this tutorial you should be familiar with TransDEM and have some basic experience with vector data editors.
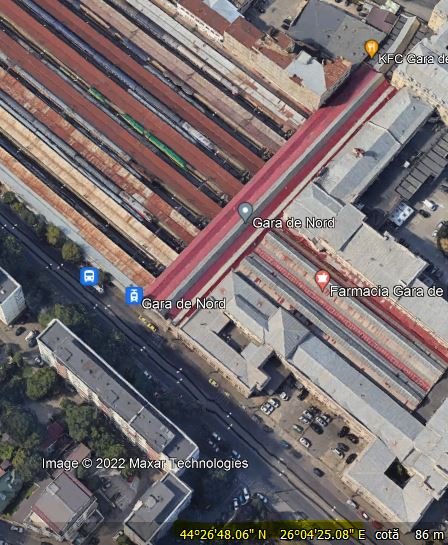
This tutorial picks a place named Moramanga in Madagascar, a small market town with a railway junction and a yard and depot. OSM coverage is still rudimentary but that provides a clearer picture when illustrating the individual steps of the tutorial.
- Part 1: Preparing a path in TransDEM.
We want to make use of working “along a path”, a feature which also exists in JOSM. For this, we do some preparatory work in TransDEM.
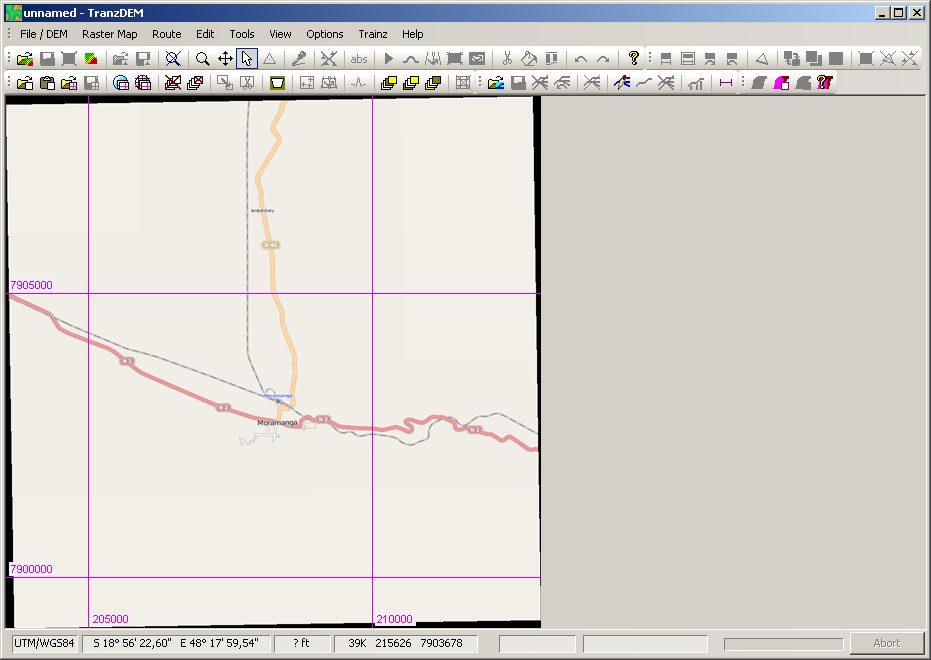
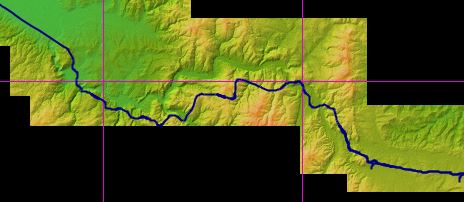
- With the TransDEM Map Tile client, navigate to Madagascar (the huge island off the coast in South East Africa), and find Moramanga.
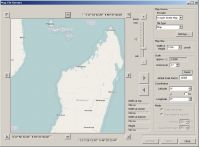
- Zoom in to level 14, focussing on Moramanga, set the the map size to 1024, and download a single map clipping.
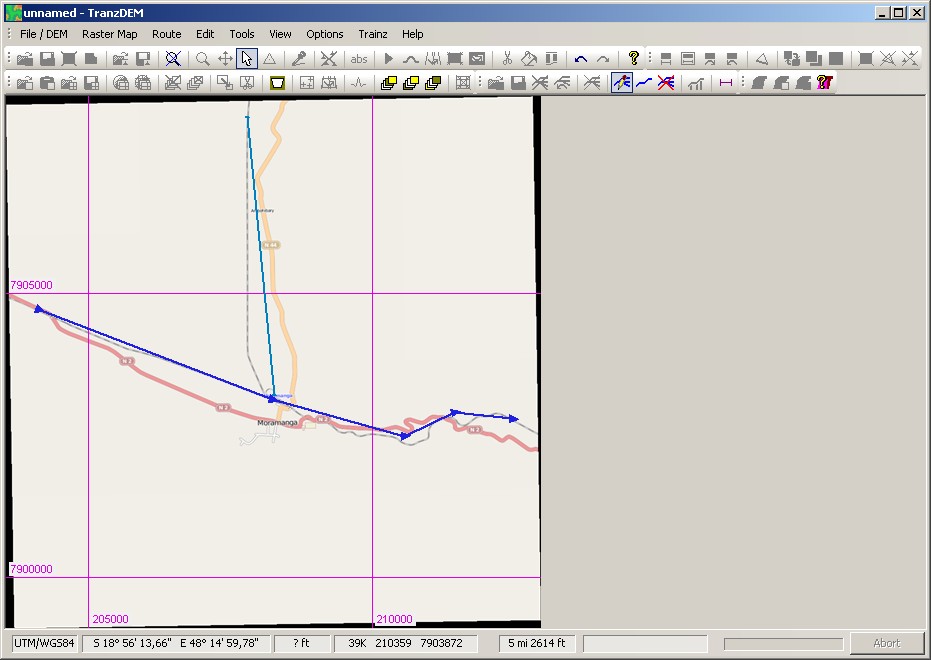
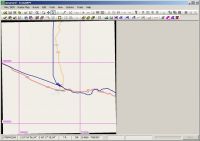
- With the built-in TransDEM Simple Route Editor, draw a simple path following the railway lines.
- Save this path in GPX format. I called it “path.gpx”
- Part 2: Handling OSM Data in JOSM
The main part of the work in this tutorial will be carried out in JOSM. The task will be to isolate a railway layer from the OSM vector data and export it as a gpx file. You don't need much expertise with JOSM to accomplish this. Most work will be done using the JOSM menus and side-bar windows. In the main window you will have to pan and zoom. To pan, press and drag with the right mouse button. To zoom, use the mouse wheel.
For a more thorough introduction, have a look at the JOSM Guide. In this tutorial we will not manipulate any data, just download, filter, and copy.
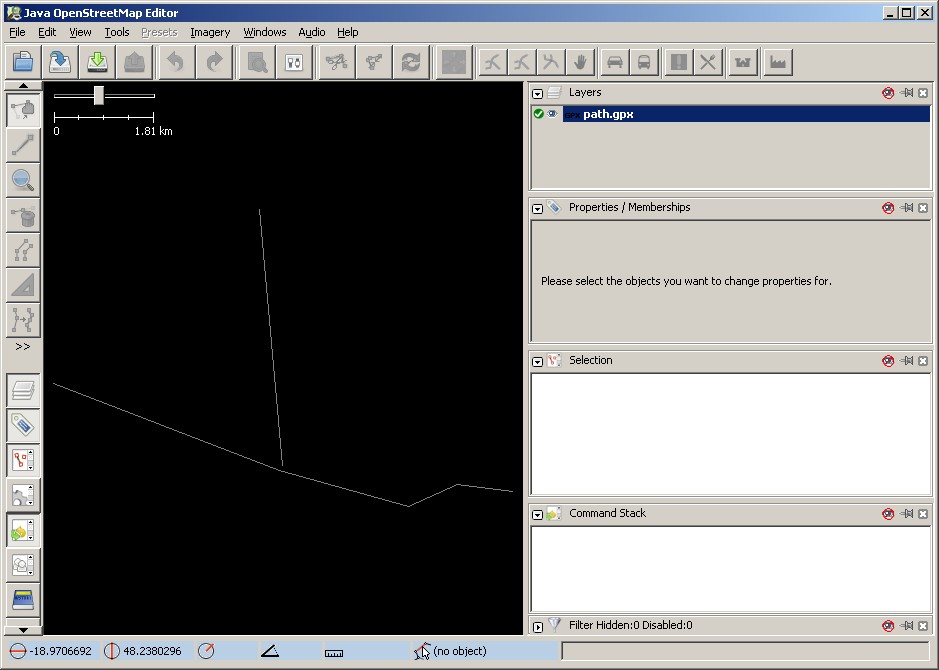
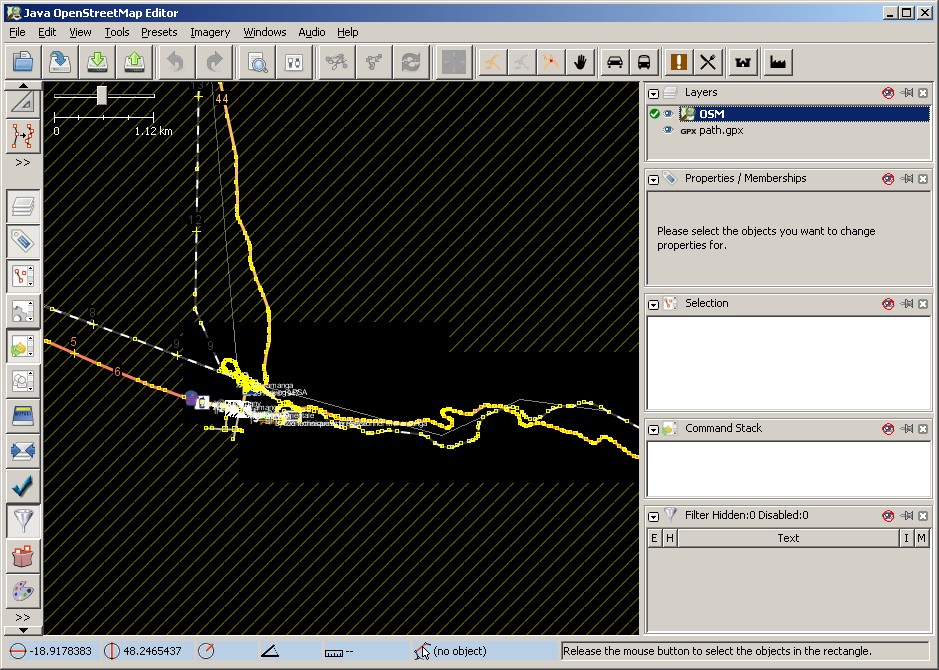
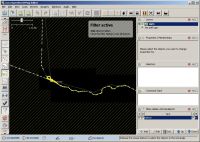
- Start JOSM. Form the “File” menu or from the main toolbar click “Open”. Find and select “path.gpx”, created with TransDEM in the first part. The path will show in the main window. At the top right, the layer window will show “path.gpx”
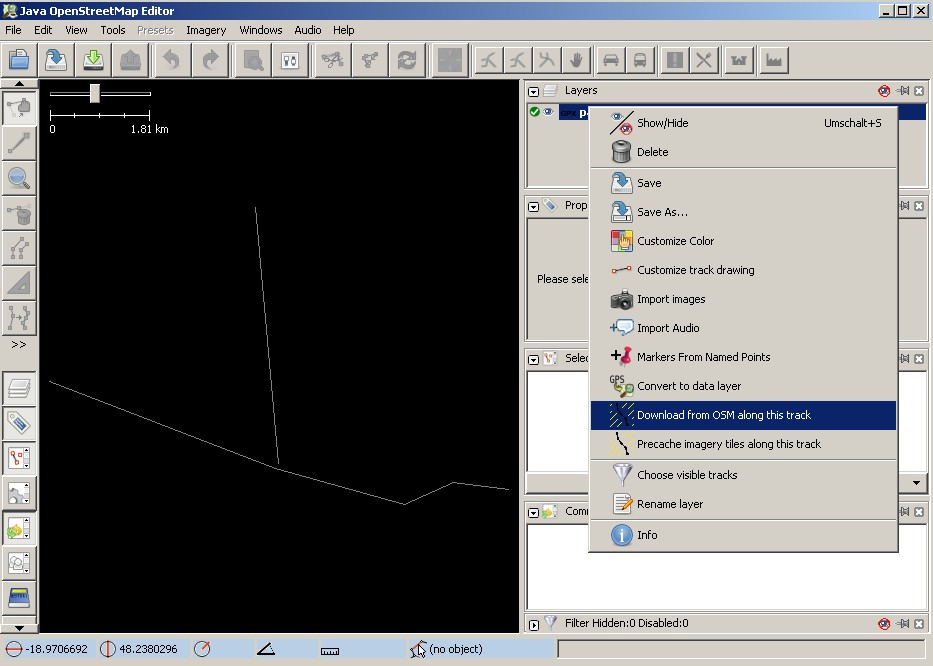
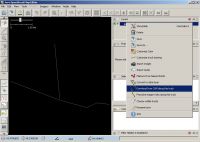
- Select the layer in the Layer window, open the context menu (right mouse button) and select “Download from OSM along this track”.
- Define the download extent in the pop-up window:
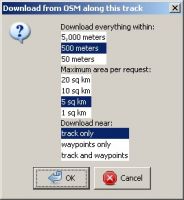
- JOSM will split the download into a series of requests. A new layer will be created for the OSM data. Rename it (double click) to “OSM”.
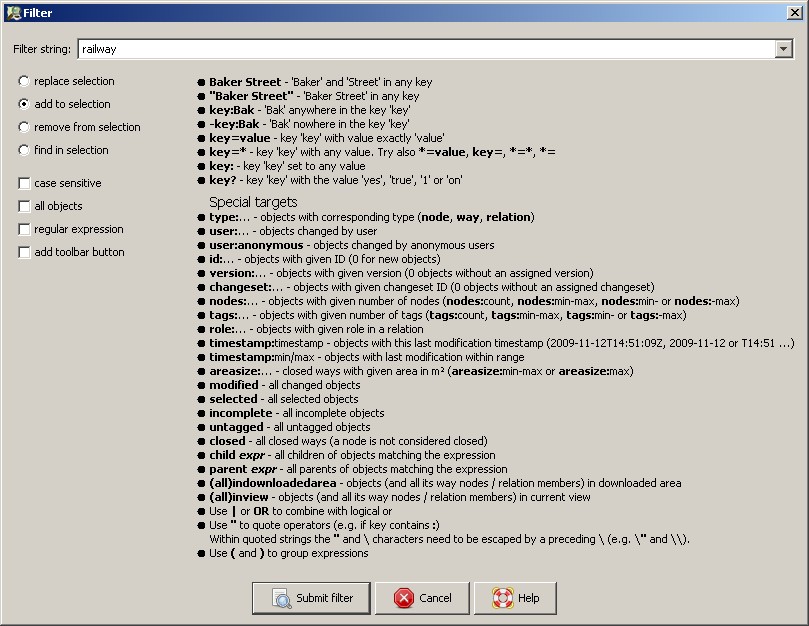
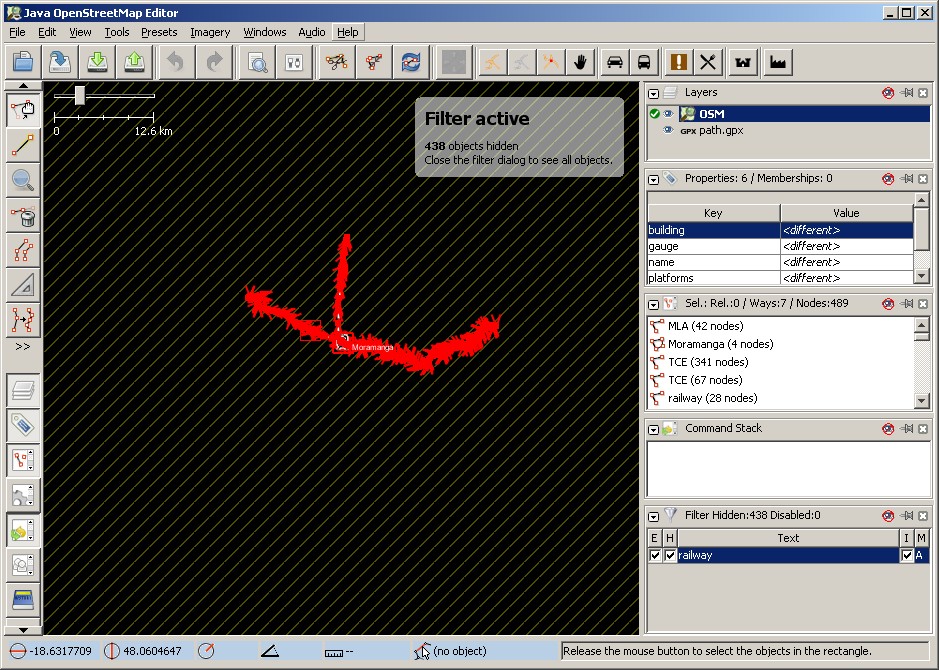
- We will now define a filter to isolate railway-related data. There is no “Railway” layer as such in OSM; we have to create one ourselves. Make sure, the filter window is visible, JOSM main menu: Windows | Filter. In the Filter window (bottom right), click “Add”.
- In the filter definition window, enter “railway” as the filter text. This will filter all elements, nodes and ways (the latter including polygons), where the key is “railway”. (See the JOSM Guide and the OSM map features page for the concept of map feature properties in OSM.)
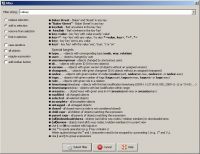
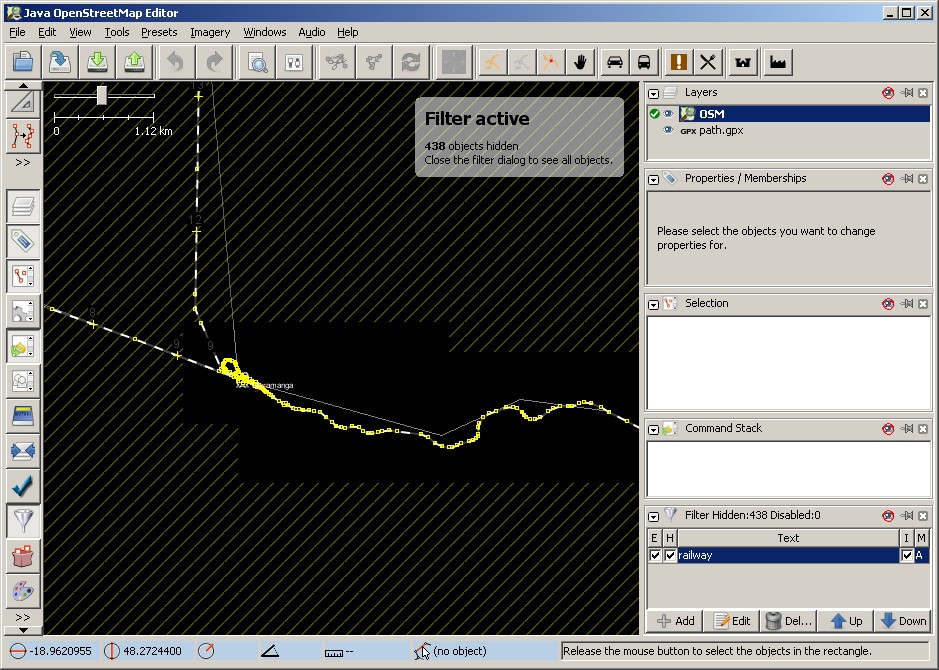
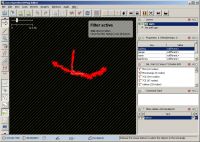
- Apply the filter. Click “E”, “H” and “I”. “E” enables the filter. “H” hides filtered objects and “I” inverses the filter. With this combination, only such objects will be shown, which have a key “railway”. (Feel free to refine the filter, once you have a better understanding of OSM map feature properties.)
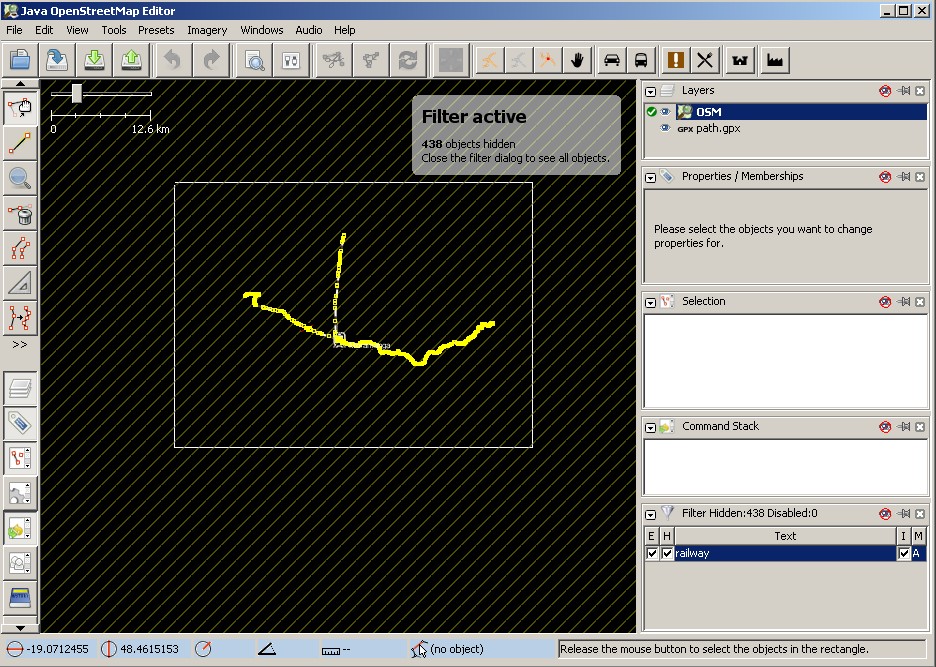
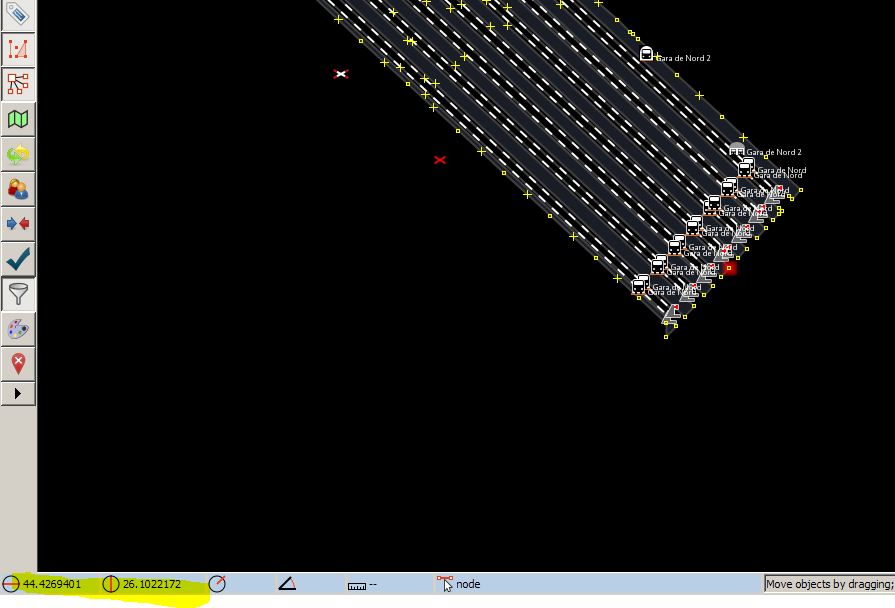
- Zoom out (mouse wheel) until the entire data collection downloaded is visible in the JOSM main window. Create a rectangular mask to encompass all data. (Press left mouse button and drag).

This will select all elements visible.
- Copy the data onto the clipboard: Ctrl+C, or main menu: “Edit” | “Copy”.
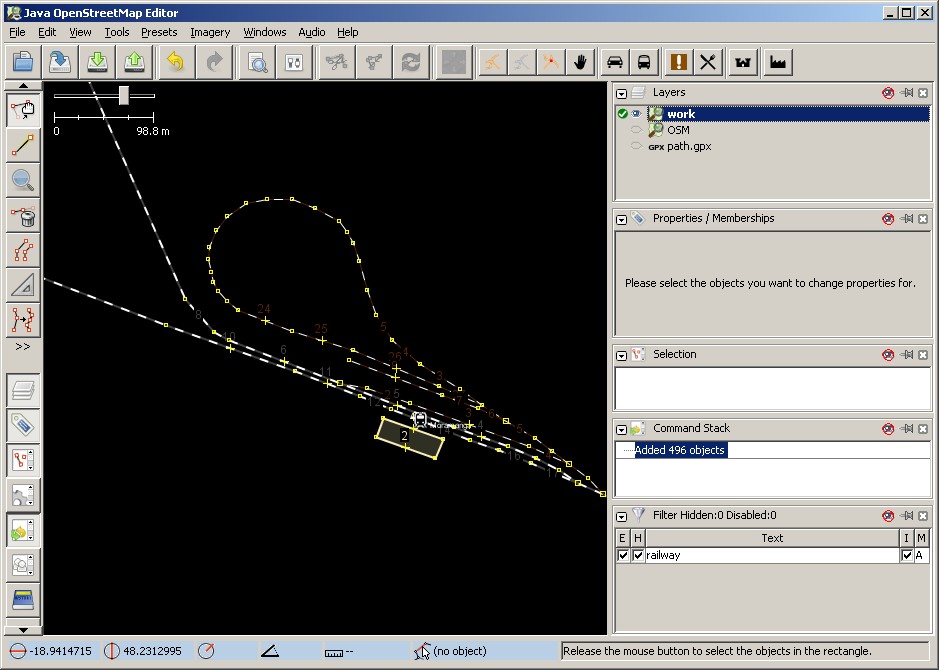
- Create a new layer: Ctrl+N, or main menu: “File” | “New Layer”. Rename the new layer “Work”.
- Paste the clipboard data into the new layer, Ctrl+V or main menu: “Edit” | “Paste”.
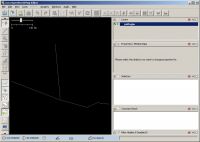
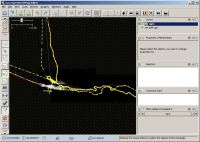
- Zoom in again to get a clearer picture. Hide the other two layers, “OSM” and “path.gpx”, clicking the eye icon or selecting “Hide” in the layer context menu.
We now have isolated the railway objects in a separate layer. Our basic filter will have included the station building. We could delete it in JOSM, or in TransDEM later, or we could define a better filter, but for this tutorial we just accept tit as it is.
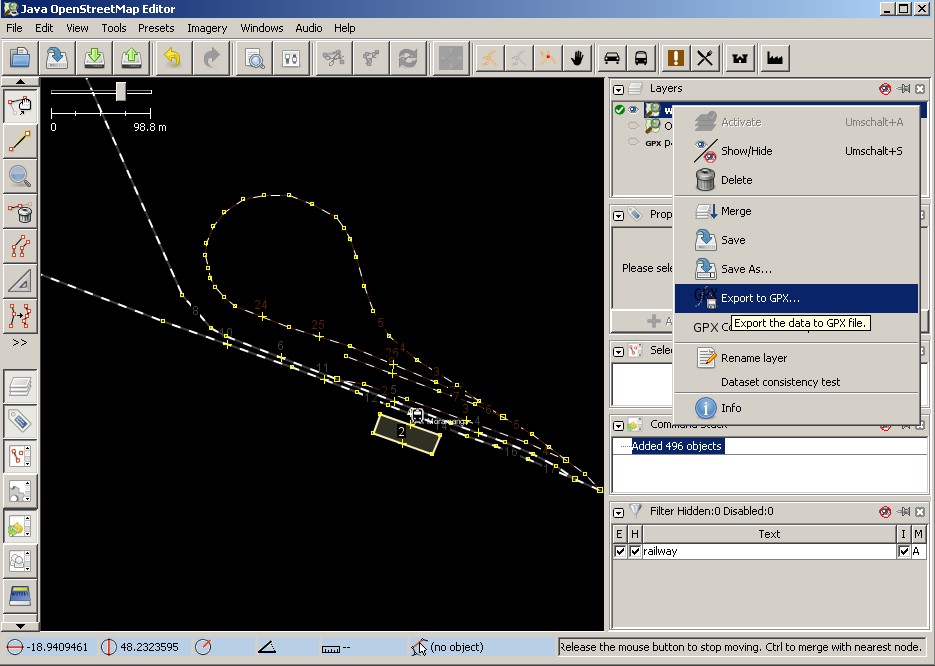
- The last step in JOSM is to export our “work” layer as a gpx file. We do this with the layer context menu.
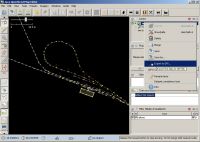
I named my file “osm.gpx”.
- Part 3: Using the Data in TransDEM
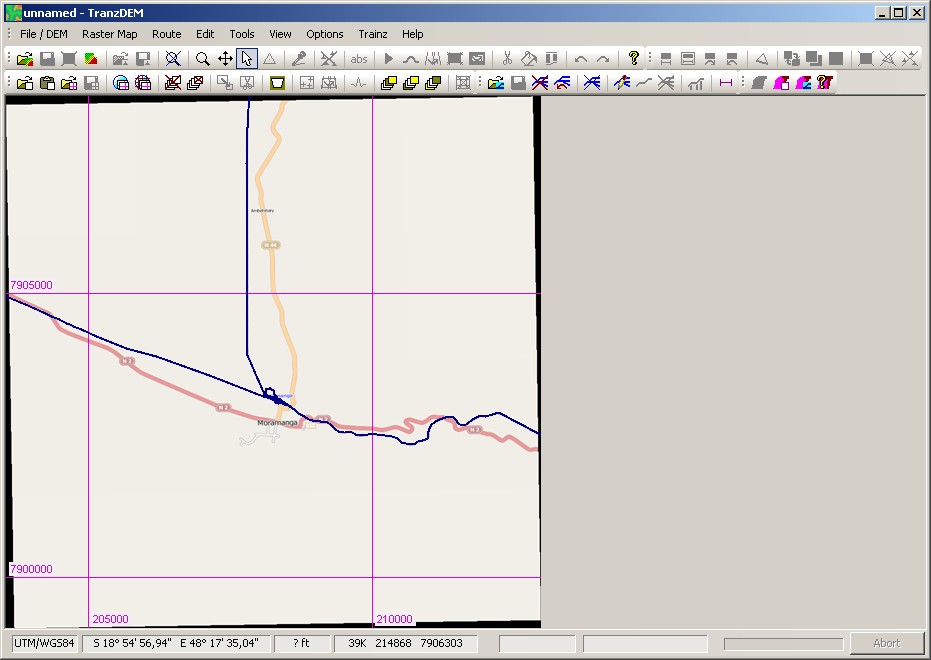
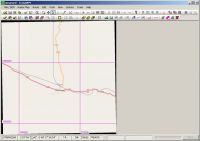
- Back in TransDEM, delete the vector data of the path, drawn in part 1.
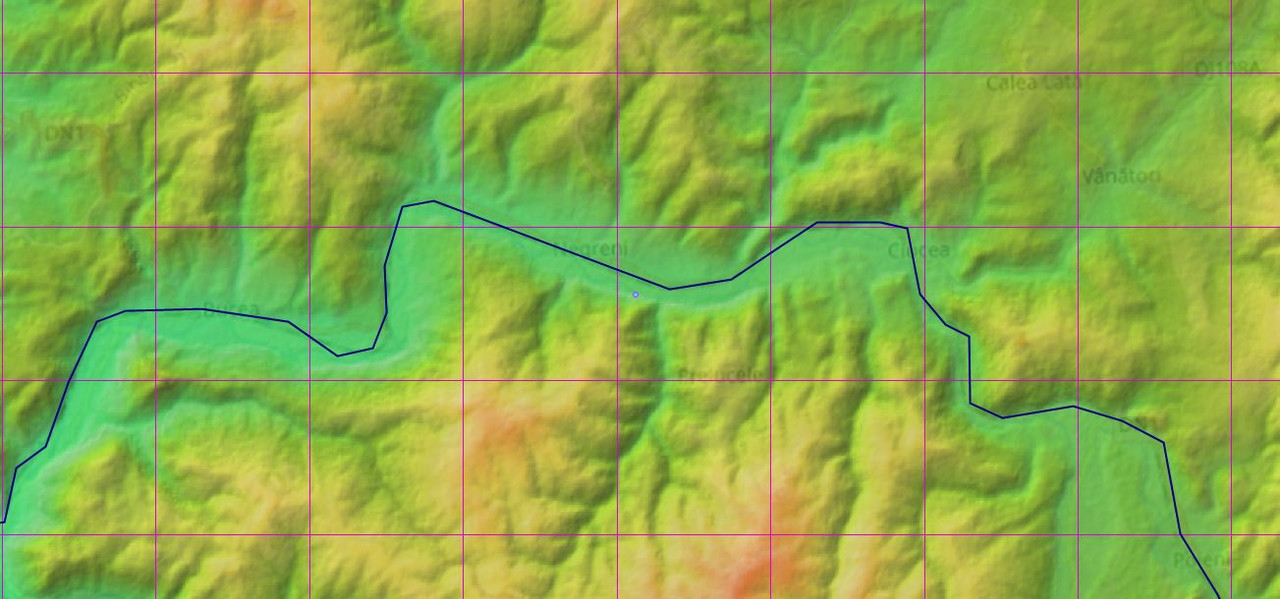
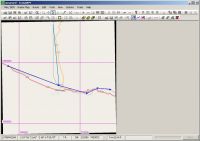
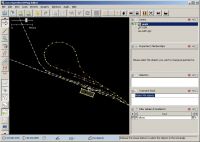
- Open “osm.gpx”, OSM railway objects will be shown in TransDEM.
- Zoom in for more detail. All the tracks, including the turning loop, will appear. The station building will appear, too. Delete if you want to.

- That's it.
You can create similar filters to extract roads, waterways and other polyline features and repeat the process, but you will have to familiarise yourself with OSM map feature properties for this, see above. Remember that TransDEM only supports one feature layer at a time when exporting to Trainz.